Notebook Environment
Purpose
The Notebook Environment provides an integrated Jupyter workspace inside the VesselAI platform.
It is a flexible development and testing space where users can write and execute Python code directly within the platform.
This environment allows users to:
- Develop and test custom algorithms
- Explore and analyze voyage or propulsion datasets
- Train and validate machine learning models
- Prototype new digital twin components
- Test data pipelines before production deployment
- Debug and validate analytical workflows
It is intended for advanced users who want to experiment, extend, or customize the platform's analytical capabilities.
Multi-User Access with JupyterHub
The platform provides two notebook environments:
| Environment | Purpose | Access |
|---|---|---|
| JupyterLab (Shared) | Legacy shared workspace — all users see the same notebooks | Shared Notebooks tab |
| JupyterHub (Personal) | Per-user isolated workspace — private notebooks per user | My Notebooks tab |
JupyterHub — Personal Workspaces
JupyterHub provides each user with a dedicated, isolated workspace:
- Each user gets their own container with a private notebook directory
- Notebooks created or uploaded via the dashboard are saved to the user's personal workspace
- MinIO (Object Storage) and MLflow credentials are automatically injected into every user container
- Shared notebooks from JupyterLab are available read-only at
/opt/shared-notebooks/ - Inactive servers are automatically shut down after 1 hour to conserve resources
JupyterLab — Shared Workspace (Legacy)
⚠️ JupyterLab currently functions as a shared workspace where all users can view and edit all notebooks. It will be phased out once all shared notebooks have been migrated to JupyterHub personal workspaces.
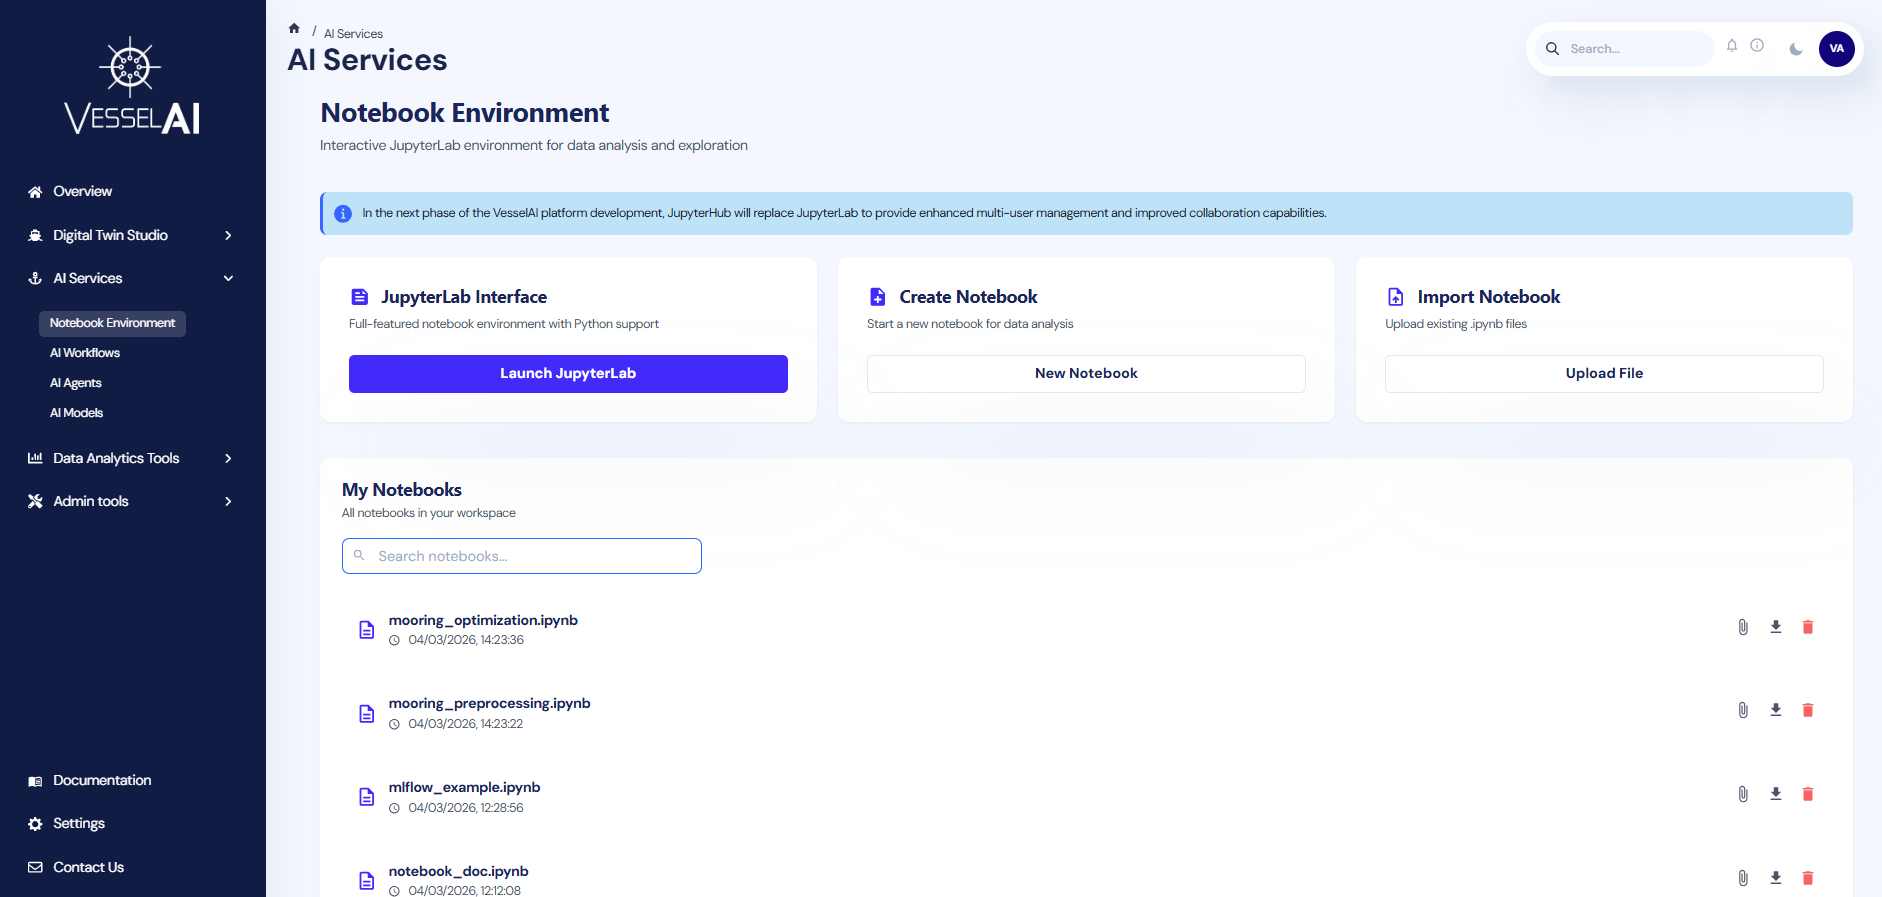
User Interface Overview
The Notebook Environment page is structured into two main sections:
- Notebook Management Actions (top section)
- Notebook Workspace with Tabs (bottom section)
Notebook Management Actions
The top panel provides three primary interaction options.
- Launch JupyterHub
This option launches the user's personal JupyterHub workspace.
Click:
Launch JupyterHub
to open an isolated JupyterLab session in a new tab. A personal container will be spawned automatically if it is not already running.
- Create Notebook
This option allows users to create a new notebook directly within their personal JupyterHub workspace.
Click:
New Notebook
A blank .ipynb file will be created in the user's workspace and opened in JupyterHub.
This is suitable for:
- Starting new analyses
- Testing model variations
- Building custom digital twin components
- Import Notebook
Users may upload an existing Jupyter notebook file to their personal workspace.
Click:
Upload File
Supported format:
- .ipynb
This allows:
- Import of externally developed models
- Sharing analytical workflows between team members
- Reusing previously developed research code
Notebook Workspace — Tabs
The lower section displays notebooks organized into two tabs:
Shared Notebooks
Displays all notebooks in the shared JupyterLab workspace. These are visible to all platform users.
Features:
- List of
.ipynbfiles with creation timestamp - Search bar for quick filtering
- File management actions:
- Open notebook in JupyterLab (click on the notebook name)
- Link to Dagster Job
- Download notebook
- Delete notebook
My Notebooks
Displays notebooks in the user's personal JupyterHub workspace. These are private to the authenticated user.
Features:
- List of
.ipynbfiles with creation timestamp - Search bar for quick filtering
- File management actions:
- Open notebook in JupyterHub (click on the notebook name)
- Link to Dagster Job
- Download notebook
- Delete notebook
Integration with VesselAI Object Storage
Purpose
The Notebook Environment is fully integrated with the VesselAI Object Storage layer.
All notebooks — both shared (JupyterLab) and personal (JupyterHub) — have automatic, pre-configured access to this storage layer.
Accessing Object Storage inside a Notebook
The platform provides a built-in utility:
from utils.minio_helper import minio
This object enables seamless interaction with VesselAI Object Storage without requiring:
- Access keys
- Endpoint configuration
- Manual authentication
- External storage credentials
Authentication is handled automatically by the platform environment.
Reading Data from Object Storage
Example - Load a dataset:
df=minio.read_csv("datasets/vessel-telemetry.csv")
Alternative access patterns:
df=minio.read_csv(bucket="datasets",filename="vessel-telemetry.csv")

df=minio.read_csv("s3://datasets/vessel-telemetry.csv")
All methods return a standard pandas DataFrame.
The read_csv() function is part of the minio_helper utility and provides a simplified interface for loading datasets from the platform environment.
Saving Data to Object Storage
Users can save files directly to VesselAI Object Storage (MinIO) using the built-in minio_helper.
The recommended methods for saving files are:
from utils.minio_helper import minio

minio.write_csv(dataframe, "results/my_output.csv")

minio.write_parquet(dataframe, "results/my_output.parquet")
Parameters
dataframe → pandas DataFrame to be saved
"bucket/filename" → Target storage path inside VesselAI Object Storage
Examples:
minio.write_csv(summary_df, "results/synthetic_summary.csv")

minio.write_parquet(summary_df, "results/synthetic_summary.parquet")
This will store the file in the results bucket under the specified filename.
The
write_csv()andwrite_parquet()functions are part of the minio_helper utility and provide a simplified interface for storing results within the platform environment. Parquet is recommended for large datasets due to its efficient columnar storage format.
Advanced Storage Operations
For advanced use cases (e.g., Parquet files), use the storage options:
import pandas as pd
from utils.minio_helper import minio

df=pd.read_parquet(
"s3://datasets/vessel-positions.parquet",
storage_options=minio.storage_options()
)

df.to_csv(
"s3://results/analysis-output.csv",
storage_options=minio.storage_options(),
index=False
)
This ensures consistent and secure access to the VesselAI Object Storage layer.
Integration with MLflow (Experiment Tracking & Model Registry)
Purpose
The Notebook Environment is integrated with the platform's MLflow tracking server.
This supports reproducible machine learning workflows within the VesselAI ecosystem
Initializing MLflow
Import the MLflow helper:
from utils.minio_helper import mlflowx

mlflow=mlflowx.setup()
This connects the notebook to the platform's MLflow tracking server.
No additional configuration is required.
Loading a Registered Model
Models stored in the MLflow registry can be loaded directly:
from utils.minio_helper import mlflowx

model=mlflowx.load_model("[your_model_name]",version=[your_model_version])

predictions=model.predict(input_df)
This allows:
- Reuse of production models
- Inference workflows
- Pipeline integration
Linking a Notebook to a Dagster Job
Each notebook — whether shared or personal — can be connected to the platform's orchestration engine (Dagster).
Clicking the link icon opens the Execution Mode Selection dialog.
Users must select one of two execution modes:
-
Observational Mode
In Observational mode, the entire notebook is treated as a single executable unit.
- The notebook is executed as one asset/step.
- No internal pipeline structure is enforced.
- Suitable for:
- Exploratory analysis
- Research notebooks
- Quick experimentation
- Model prototyping
This mode is lightweight and flexible.
- Pipeline Mode
In Pipeline mode, the notebook is treated as a structured Dagster pipeline.
- Users can define multiple assets directly from code.
- Execution follows a formal orchestration structure.
- Dependencies between assets can be defined.
- Suitable for:
- Production workflows
- Reproducible data pipelines
- Scheduled model execution
- Modular digital twin components
This mode enables scalable, production-ready data workflows.
Writing a Pipeline Notebook
Purpose
When a notebook is linked in Pipeline Mode, it is interpreted as a structured Dagster pipeline.
Instead of executing the notebook as a single unit, the system parses the notebook into distinct execution stages ("steps"), each becoming a Dagster asset.
Defining Pipeline Steps
Pipeline steps are defined using special directives at the beginning of notebook cells.
Each stage must start with:
# %% step: <step_name>
This directive instructs the platform to treat the cell as a pipeline stage.
- An example illustrating a complete machine learning workflow is available here.
Key Rules for # %% step: Directives
-
Each step must start with:
# %% step: <step_name>as the first line of a cell.
-
To ensure compatibility and consistency within the orchestration system, step names should follow a simple naming convention:
- Use lowercase characters
- Avoid spaces
- Use underscores (
_) to separate words (recommended)
-
Variables defined in one step:
- Remain available in subsequent steps
- Share the same execution environment
Example Scenario
This example demonstrates how operational vessel data stored in the platform can be directly accessed and analyzed within the integrated notebook environment.
In this example, users will:
-
Load telemetry data from VesselAI Object Storage
-
Perform a simple visualization
-
Explore the relationship between speed and fuel consumption
Step 1 - Navigate to the Notebook Environment
-
Navigate to:
AI Services→ Notebook Environment
Step 2 – Create a New Notebook
-
Click New Notebook
-
Name it:
notebook_example.ipynb
The notebook will be created in your personal JupyterHub workspace and opened automatically.
Step 3 – Load Dataset from VesselAI Object Storage
In the first cell, run:
from utils.minio_helper import minio
import pandas as pd
import matplotlib.pyplot as plt

# Load dataset from VesselAI Object Storage
jul_df = minio.read_csv("synthetic-data/synthetic_9235517_202407.csv")
# Format: "bucket_name/filename.csv"

print(f"Loaded dataset with shape: {jul_df.shape}")
jul_df.head()
This reads a dataset stored in the platform's object storage (MinIO) and loads it into a pandas DataFrame.
Step 4 – Perform a Simple Analysis
In a new cell, run:
#convert timestamp column
jul_df["sensor_time"] = pd.to_datetime(jul_df["sensor_time"])

plt.figure(figsize=(7,6))

sc = plt.scatter(
    jul_df["SOG"],
    jul_df["FuelMassFlowMETotal"],
    c=jul_df["PropulsionPowerTotal"],
    alpha=0.5
)

plt.xlabel("Speed Over Ground (knots)")
plt.ylabel("Fuel Mass Flow (kg/hr)")
plt.title("Speed vs Fuel Consumption (July)")
plt.colorbar(sc, label="Propulsion Power (kW)")
plt.show()
The user can now explore the relationship between vessel speed, fuel consumption, and propulsion power directly within the notebook environment.